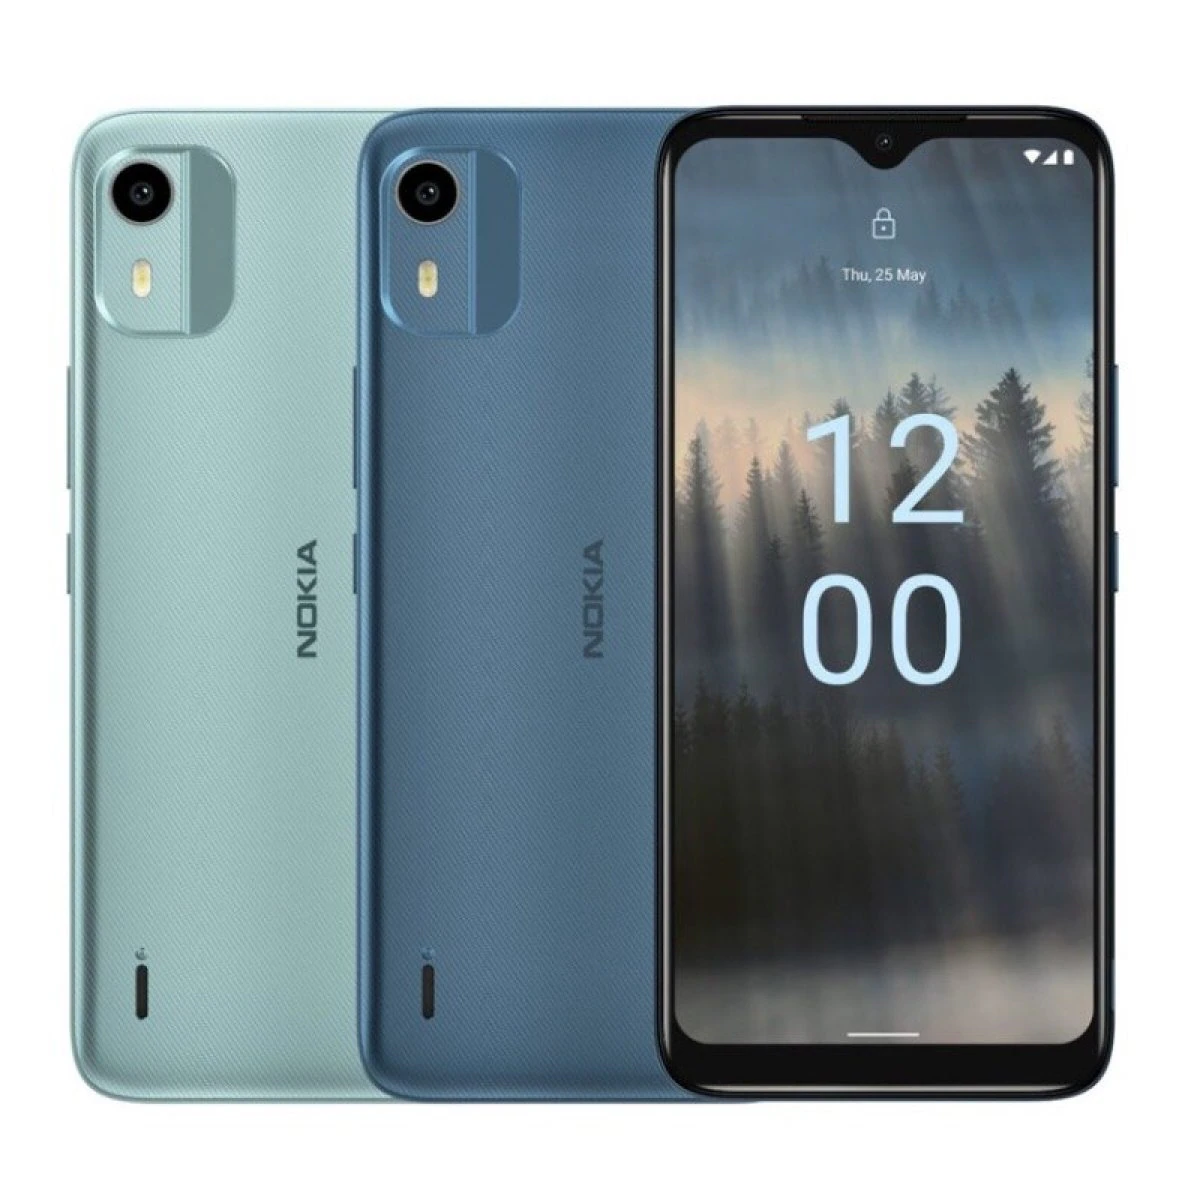
Taking Screenshots on our Nokia phone is the easy way to get and keep evidence. You transfer money to someone and then take a screenshot of the receipt is enough proof on its own.
Taking screenshots of your chat with someone is also proof on its own. At times we take screenshots to teach someone a particular thing on our device. As you can see, there are so many reasons why we take screenshots from time to time.
Without wasting time, I will be showing you how to make a screenshot on your Nokia phone with ease how you can save screenshots, and even how to locate the screenshot anytime on your device.
How to Take Screenshots on Your Nokia Phone
Capturing what’s on your Nokia phone’s display can be useful for many reasons. Luckily, all Nokia devices make it easy to take screenshots.
The Basic Screenshot Method:
- Simultaneously press and hold the Power button and Volume down button.
- Continue holding both buttons until you hear a camera shutter sound. This indicates the screenshot was captured.
- You’ll find the screenshot saved in the Screenshots album in your phone’s Gallery/Photos app for viewing and sharing.
Alternate Screenshot Methods:
- On some Nokia phones, you can take screenshots by swiping your palm across the screen from one edge to another.
- Newer Nokia devices have a screenshot button in the quick settings menu that you can tap to capture the screen.
- You can use Google Assistant by saying “Hey Google, take a screenshot” if the device has active voice commands.
- Downloading screenshot apps from the Play Store like Awesome Screenshot also provides options like scrolling screenshots.
Be sure to regularly check your Photos library and free up space by transferring screenshots you no longer need to your computer or cloud storage.
Let me know if you have any other questions about capturing those important screens on your Nokia smartphone! Proper screenshots make sharing information easy.
