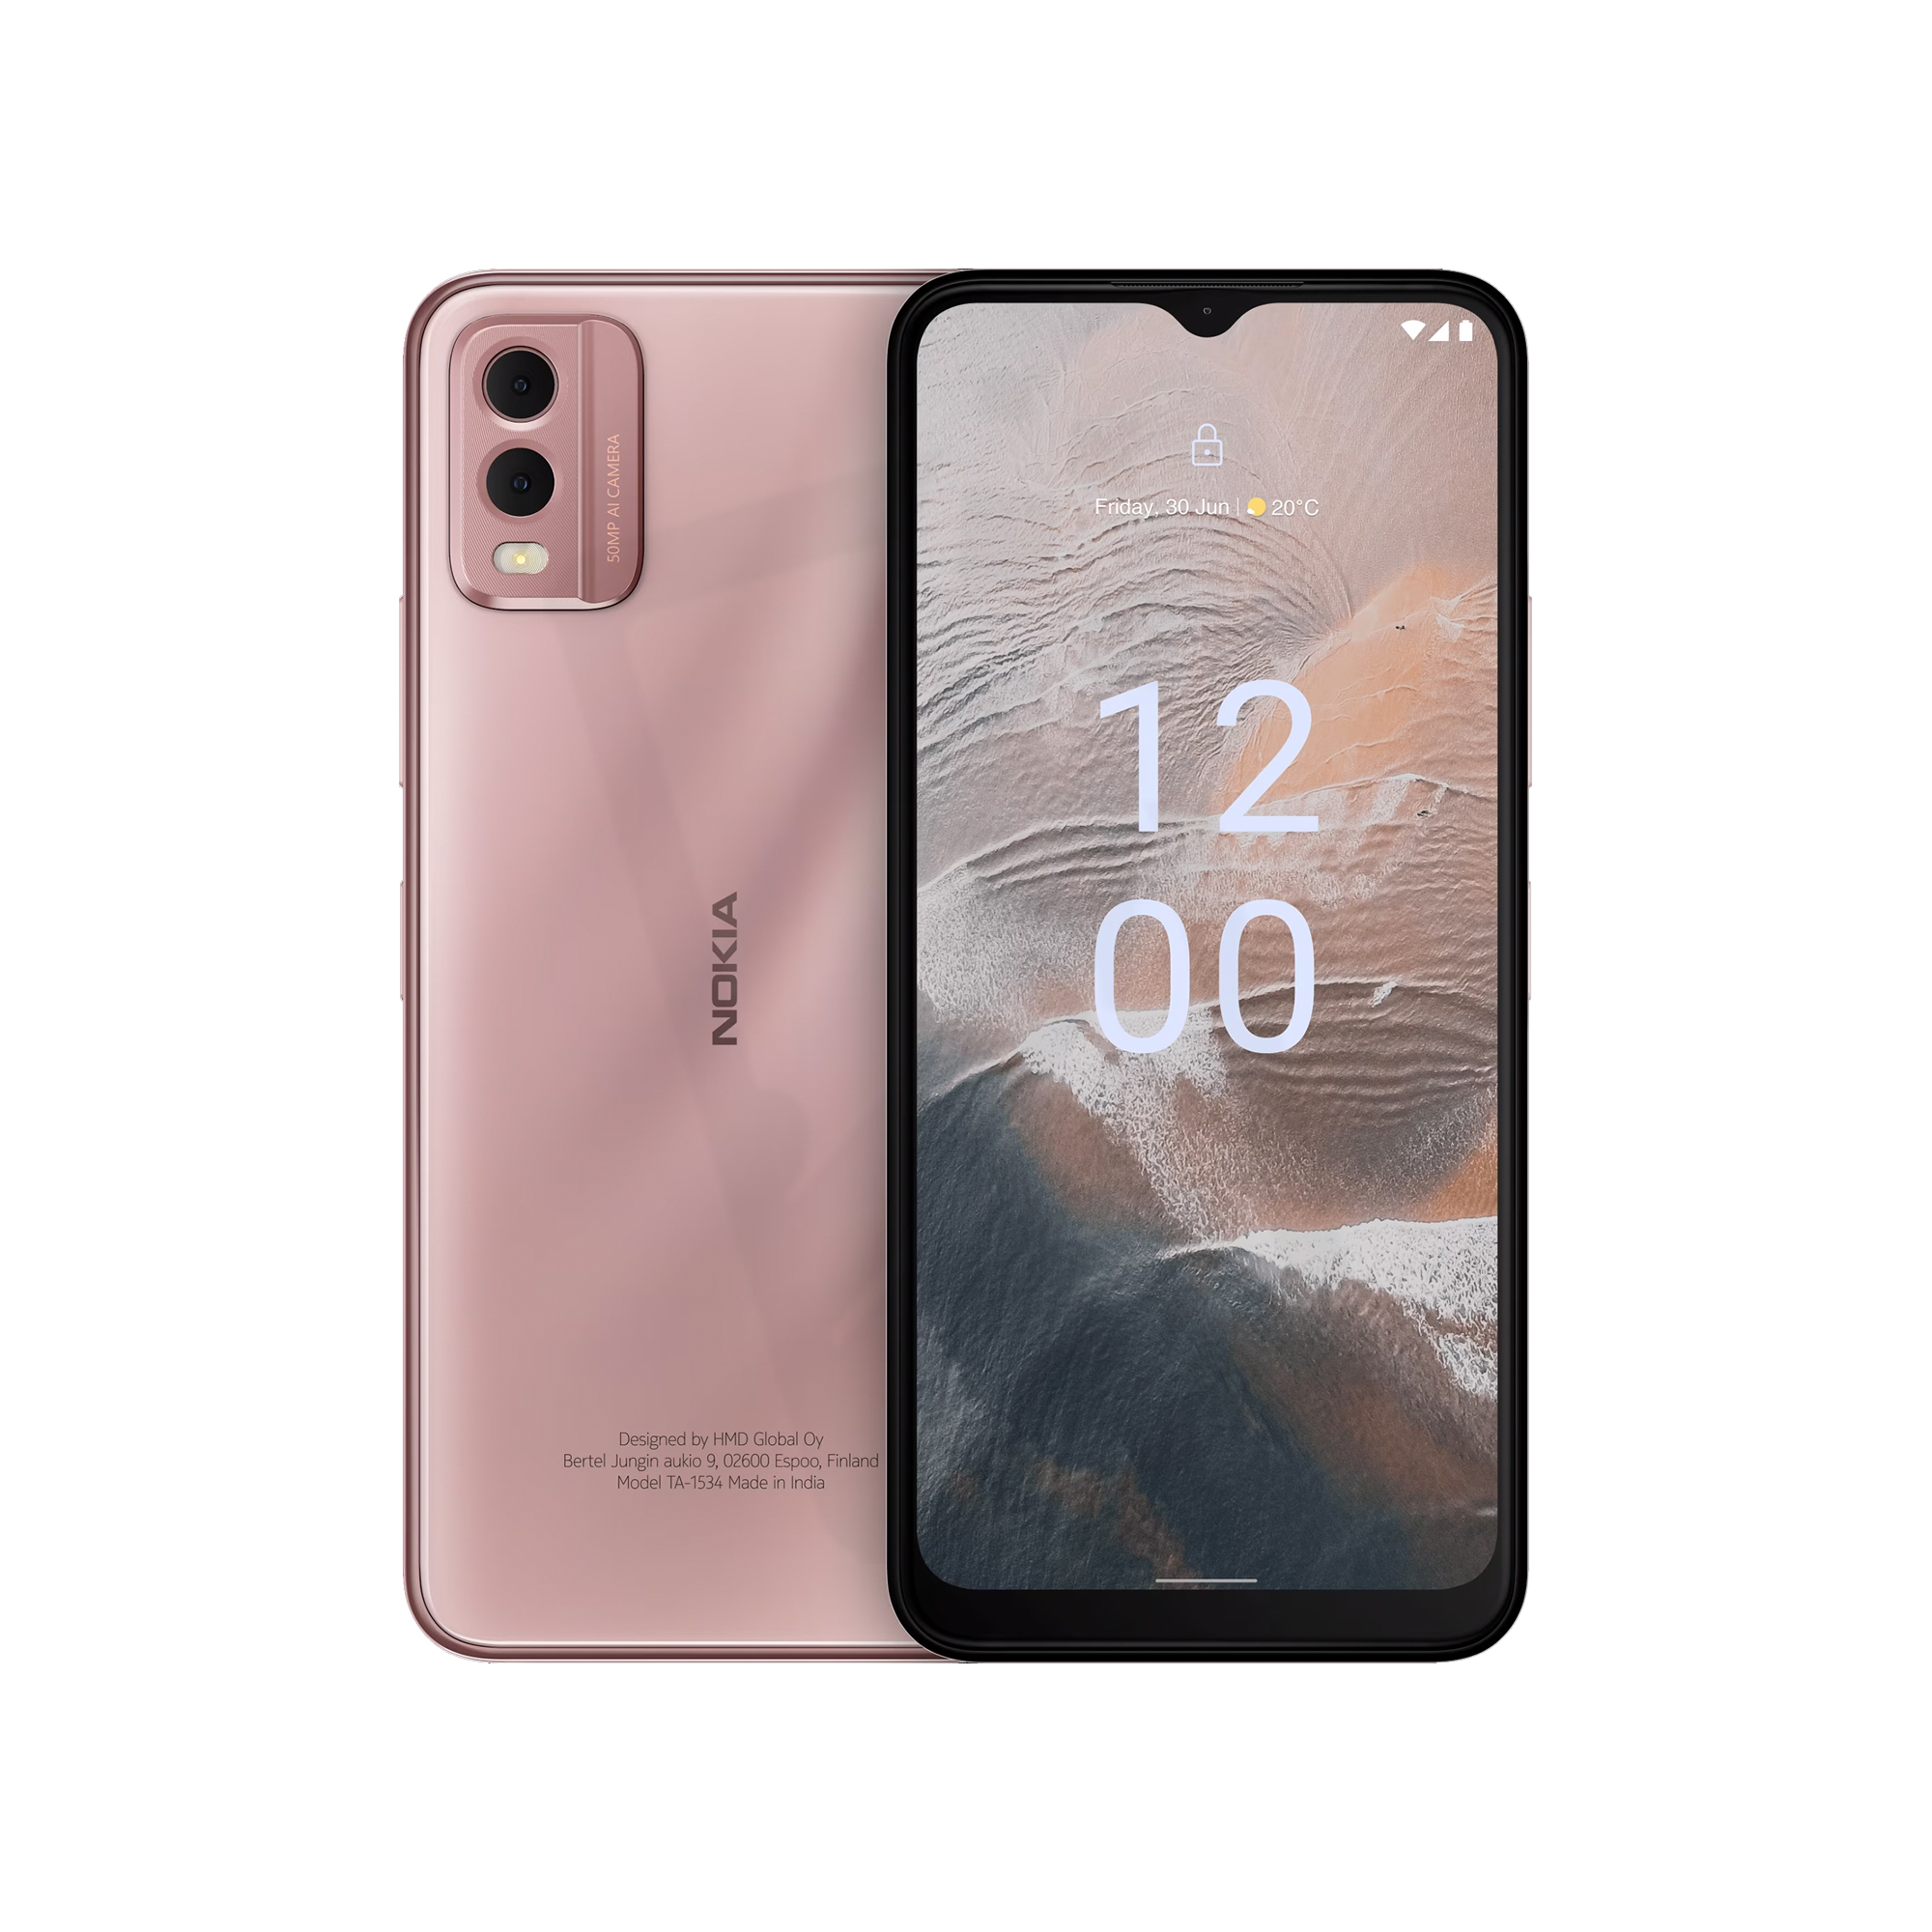
Screen recording is another easy way to pass information or to teach someone a particular task on your Nokia phone. We also make use of screen recording when playing mobile games on our phones.
If you have been looking for ways you can use to take a screen record on your Nokia phone, then we got you covered. In this post, we will be showing you all the steps involved in screen recording on your Nokia device.
How to Record Your Nokia Phone’s Screen
Being able to capture what’s happening on your Nokia phone’s display in a video can be useful for various reasons like sharing app tutorials. Here are the basic steps to screen record on Nokia Android devices:
- Go to Settings and select “System.”
- Tap on the “Screen recording” option.
- You’ll find a thumbnail preview of your screen. Tap on the “Start recording” button, usually a red circle icon, to begin capturing everything on your display.
- A 3-second countdown will begin before the recording starts. You can also tap the button again for an instant start.
- To stop recording, tap the pause/stop button at the top right of the screen, which appears as 2 vertical lines inside a circle.
- The captured video will be saved to your device’s gallery/photos app for viewing and sharing.
Note that some budget Nokia phones may not have this built-in screen recorder. In that case, download an app like AZ Screen Recorder from the Play Store. You can also customize output quality and add audio commentary.
Always review recordings before sharing and free up space by deleting any unnecessary clips. Let me know if you need help with any other Nokia screen recording questions!
